How to Repair an RV Toilet: A Complete DIY Guide!
A non-functional RV toilet can put a real damper on your off-the-grid adventure. No need to worry – this guide will equip you with the knowledge to tackle common RV toilet repairs.
With a little know-how and this guide by your side, you might just surprise yourself with your DIY prowess!
However, easier said than done! RV toilet repair can get technical, and there’s a dire need of professional help, especially for complex issues. So, if you think that your rv toilet issues are complex, then it’s better to call a professional plumbing company for help. Speaking of professional plumbing companies, if you’re from Miami – JMK plumbing can serve you well.
Anyhow, below are the steps on how to repair an RV toilet:
Step#1 – Diagnosis: Identifying the Issues
We start with diagnosing the problem.
Symptoms:
- Leaking: A leaky toilet can be a real buzzkill. Identify the source of the leak – is it at the base, the flush valve, or the supply line?
- Running Toilet: Is your toilet constantly refilling, creating a symphony of rushing water? This could indicate a problem with the flapper valve.
- Slow Flushing/Clogging: A sluggish flush or frequent clogs are no fun. This might be caused by a blockage in the waste valve or vent line.
- Difficulty Flushing: If the pedal feels unresponsive or requires excessive force to flush, the culprit could be a broken flush pedal mechanism.
- Unusual Noises: Grinding, clunking, or hissing noises during operation are all red flags that something’s amiss.
- Odors: Let’s be honest, unpleasant smells are a sure sign something needs attention.
Common Culprits:
- Worn or Damaged Seals: The waste valve seal and flush valve seal create watertight barriers. When worn or damaged, leaks and inefficiency ensue.
- Faulty Flapper Valve: This little guy sits in the toilet bowl, preventing water from flowing out until you flush. A faulty flapper valve can lead to running toilets and weak flushes.
- Clogged Passages: Waste buildup or debris in the waste valve or vent line can cause slow flushing and clogs.
- Broken Flush Pedal Mechanism: A broken linkage or worn spring in the pedal assembly can make flushing difficult.
- Water Pressure Issues: Low water pressure can lead to weak flushes, while excessive pressure can damage the toilet. A faulty water pressure regulator might be to blame.
- Damaged Toilet Base/Flange: Cracks or damage to the toilet base or flange can compromise the seal and lead to leaks.
Troubleshooting Steps:
- Visual Inspection: Get down and dirty (with gloves, of course!) Look for leaks, cracks, or loose connections around the toilet and base.
- Test Flush Functionality: Observe the water level in the bowl after flushing. Does the flapper valve seal properly?
- Listen Up: Unusual noises during operation can point you towards the problem area.
- Water Pressure Check: Check the water pressure at the RV’s inlet using a pressure gauge.
- Identify Your Model: Knowing your specific RV toilet model is crucial for finding the right repair parts and following proper disassembly instructions (usually found in the owner’s manual).
Ste#2 – Gather Tools and Materials You’ll Need
Safety Gear:
- Gloves (rubber or nitrile): Protect your hands from germs and grime.
- Safety Glasses: Shields your eyes from any flying debris during disassembly.
- Dust Mask: Keeps dust and particulates out of your lungs, especially when working under the toilet.
Basic Tools:
- Adjustable Wrench: For tightening or loosening various nuts and bolts.
- Screwdrivers (Flathead & Phillips): For removing screws and accessing components.
- Pliers: For gripping and manipulating parts.
- Socket Wrench Set: May be needed for specific bolts depending on the toilet model.
- Utility Knife: For cutting materials like sealant (use with caution).
- Bucket/Towel: For catching spills and drips.
Repair Kit Selection:
This depends on the diagnosed issue and your specific toilet model. Here are some common possibilities:
- Waste Valve Seal Kit
- Flush Valve Seal Kit
- Flapper Valve
- Flush Pedal Assembly
- Water Pressure Regulator
- Silicone Sealant (for minor leaks)
- Thread Lock (optional, for added security on some connections)
In some cases, more extensive repairs might require:
- Replacement Toilet Base: For severe cracks or damage to the existing base.
- RV Toilet Flange Repair Kit: For minor flange leaks (consult a professional for major flange replacements).
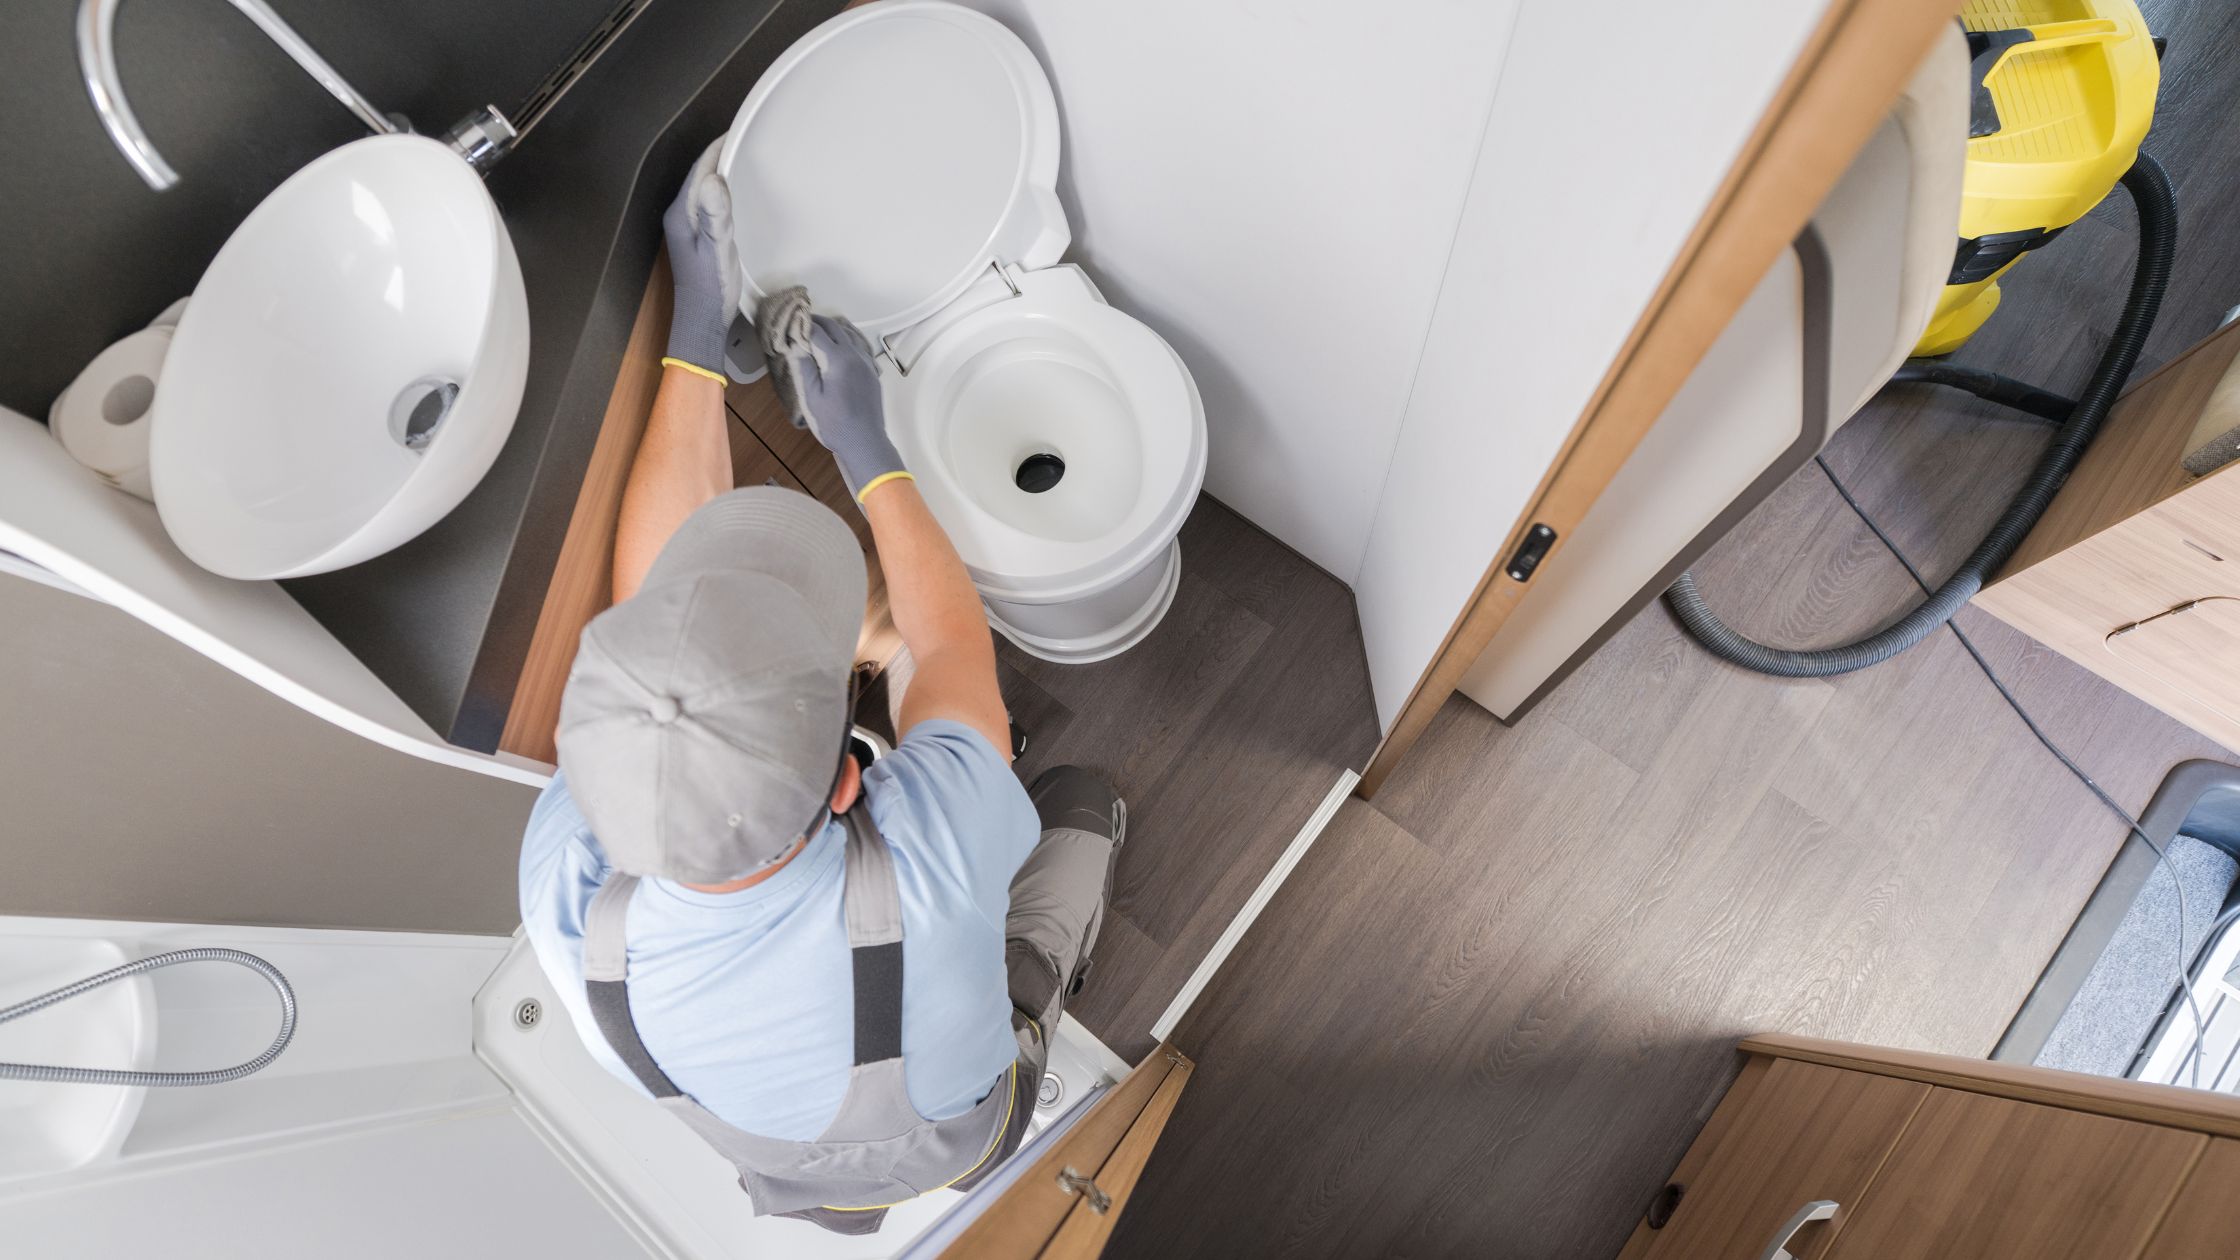
Step#3 – Repair Procedures (A Deep Dive into Fixing Your Throne)
Waste Valve Seal Replacement:
- Turn off the water supply to your RV.
- Drain the toilet bowl by flushing and holding down the pedal.
- Disconnect the water supply line from the toilet base.
- Secure the toilet with support blocks or a jack to prevent it from tipping over.
- Remove the toilet base mounting bolts (may require access from underneath the RV).
- Carefully lift the toilet base, managing any residual water with the bucket.
- Access the waste valve assembly (consult your toilet manual for specific disassembly instructions).
- Identify and remove the old waste valve seal carefully, making sure not to lose any components.
- Clean the sealing surface thoroughly, removing any debris or deposits that might prevent a proper seal.
- Install the new waste valve seal, ensuring it’s positioned correctly according to the manufacturer’s instructions.
- Reassemble the waste valve if it was disassembled.
- Reposition the toilet base on the flange, aligning the mounting holes.
- Secure the toilet base with the mounting bolts, tightening them hand-tight initially.
- Reconnect the water supply line, ensuring a secure connection with clamps or wrenches (consult the manual).
- Gradually turn on the water supply and check for leaks around the base.
- Tighten the mounting bolts evenly with the appropriate torque specified in your toilet manual. A socket wrench will likely be needed here.
- Test the toilet functionality by flushing and checking for leaks.
Flush Valve Seal Replacement:
The steps for replacing the flush valve seal are quite similar to the waste valve seal replacement. Follow steps 1-4 from the Waste Valve Seal Replacement section.
- Access the flush valve assembly (may involve removing the top of the toilet bowl, consult your manual).
- Identify and remove the old flush valve seal, following the instructions specific to your toilet model.
- Clean the sealing surface thoroughly, removing any debris or deposits.
- Install the new flush valve seal, ensuring proper positioning.
- Reassemble the flush valve assembly if applicable (refer to your manual).
- Reposition the toilet bowl on the base, aligning the mounting holes.
- Secure the toilet bowl with mounting bolts, hand-tightening them initially.
- Reconnect the water supply line, ensuring a secure connection.
- Gradually turn on the water supply and check for leaks.
- Tighten the mounting bolts evenly with the recommended torque (consult your manual).
- Test the toilet functionality by flushing and checking for leaks.
Flapper Valve Replacement:
- Turn off the water supply to your RV.
- Drain the toilet bowl by flushing and holding down the pedal.
- Remove the lid from the toilet bowl.
- Unhook or unscrew the flapper valve from the flush valve assembly (refer to your toilet manual for specific instructions).
- Install the new flapper valve, ensuring proper positioning and attachment to the chain that triggers flushing.
- Reattach the lid to the toilet bowl.
- Turn on the water supply and test the toilet functionality by flushing.
Flush Pedal Mechanism Repair:
- Turn off the water supply to your RV.
- Drain the toilet bowl by flushing and holding down the pedal.
- Access the flush pedal assembly (may require removing a decorative panel).
- Identify the specific issue with the mechanism (broken linkage, worn spring, etc.). Consult your toilet model manual or online resources for specific disassembly instructions.
- Depending on the issue, replace worn components such as springs or linkage parts with new ones from a repair kit. Tighten loose connections to ensure proper functionality. In severe cases, replace the entire flush pedal assembly if it’s beyond repair.
- Reassemble the flush pedal mechanism, ensuring all parts are properly aligned and secured.
- Test the functionality of the pedal by pressing it. It should operate smoothly and trigger flushing action.
- Reattach the decorative panel (if applicable) to the toilet.
- Turn on the water supply and test the toilet functionality by flushing.
Water Pressure Regulator Repair/Replacement:
- Locate the water pressure regulator, usually near the RV’s freshwater inlet.
- Disconnect the water supply line from the regulator using pliers or a wrench.
- Use a wrench or pliers to remove the regulator housing (consult the manual for specific instructions).
- Inspect the internal components for damage or wear, such as the diaphragm or spring.
- If possible, replace the internal repair kit for the regulator, following the manufacturer’s instructions.
- If the regulator is damaged beyond repair, replace it with a compatible unit designed for your RV’s water pressure.
- Reinstall the regulator housing and reconnect the water supply line, ensuring secure connections with clamps or wrenches.
- Turn on the water supply and check for leaks at the connections.
- Attach a pressure gauge to the system (consult an RV technician if needed). Adjust the regulator according to the recommended pressure specified in your RV’s manual.
- Test the toilet functionality by flushing to see if the water pressure is sufficient for a strong flush.
Advanced Repairs and Considerations
While this guide tackles common RV toilet repairs, some situations require a more advanced approach:
Clogged Passages:
Clogged waste valves or vent lines may necessitate specialized tools like a plumbing snake or compressed air to clear the blockage. Identifying the location of the clog (waste valve or vent line) is crucial. Consult a professional plumber for stubborn clogs to avoid damaging your RV’s plumbing system.
Toilet Base/Flange Repair or Replacement:
Significant cracks or severe damage to the toilet base might necessitate a complete replacement. Replacing the toilet flange requires advanced plumbing skills and tools. For these repairs, consider seeking professional assistance to ensure proper sealing and structural integrity of your RV’s plumbing system.
Additional Tips and Maintenance to Repair an RV Toilet!
- Use RV-specific toilet paper: It’s designed to break down faster, preventing clogs in your RV’s narrow pipes.
- Avoid flushing harsh chemicals or foreign objects: This can damage your toilet and clog the system.
- Regularly inspect your toilet and surrounding area for leaks or damage. A small problem can quickly turn into a major headache (and potential water damage) if left unaddressed.
- Consider annual maintenance checks for your RV’s plumbing system, including the toilet. A qualified technician can identify potential issues before they become serious problems.
Final Words
Maintaining a properly functioning toilet is essential for a comfortable and enjoyable RV experience. By following this guide on how to repair an RV toilet, and embracing your inner DIY spirit, you can tackle many common RV toilet repairs yourself.
However, don’t be afraid to call in the professionals for complex issues or if you’re feeling overwhelmed. We, at JMK plumbing, can handle all kinds of plumbing tasks in Miami – whether they are small or big. So, don’t hesitate to give us a call at 786-751-2271. We’ll be happy to serve you.