How to Repair an Outdoor Faucet: A Step-by-Step Guide
When faced with a leaking outdoor faucet, knowing how to repair an outdoor faucet can save you both time and money. Follow this comprehensive guide to troubleshoot and fix common issues. If the task seems difficult, remember that JMK Plumbing Services in Miami, Florida is always available for professional assistance.
Materials You’ll Need:
- Adjustable wrench
- Pipe wrench
- Plumber’s tape
- Replacement parts (if necessary)
- O-rings
- Washer
- Bibb screw
- Packing nut
- Bibb washer
- Faucet handle
- Teflon tape
Safety Tip:
Before starting any repairs, turn off the water supply to the outdoor faucet. Locate the shut-off valve inside your house or use the main water shut-off valve.
Step 1: Identify the Problem
Understanding the issue with your outdoor faucet is the crucial first step in the journey of learning how to repair an outside faucet leak. Each symptom provides valuable clues to guide your troubleshooting process.
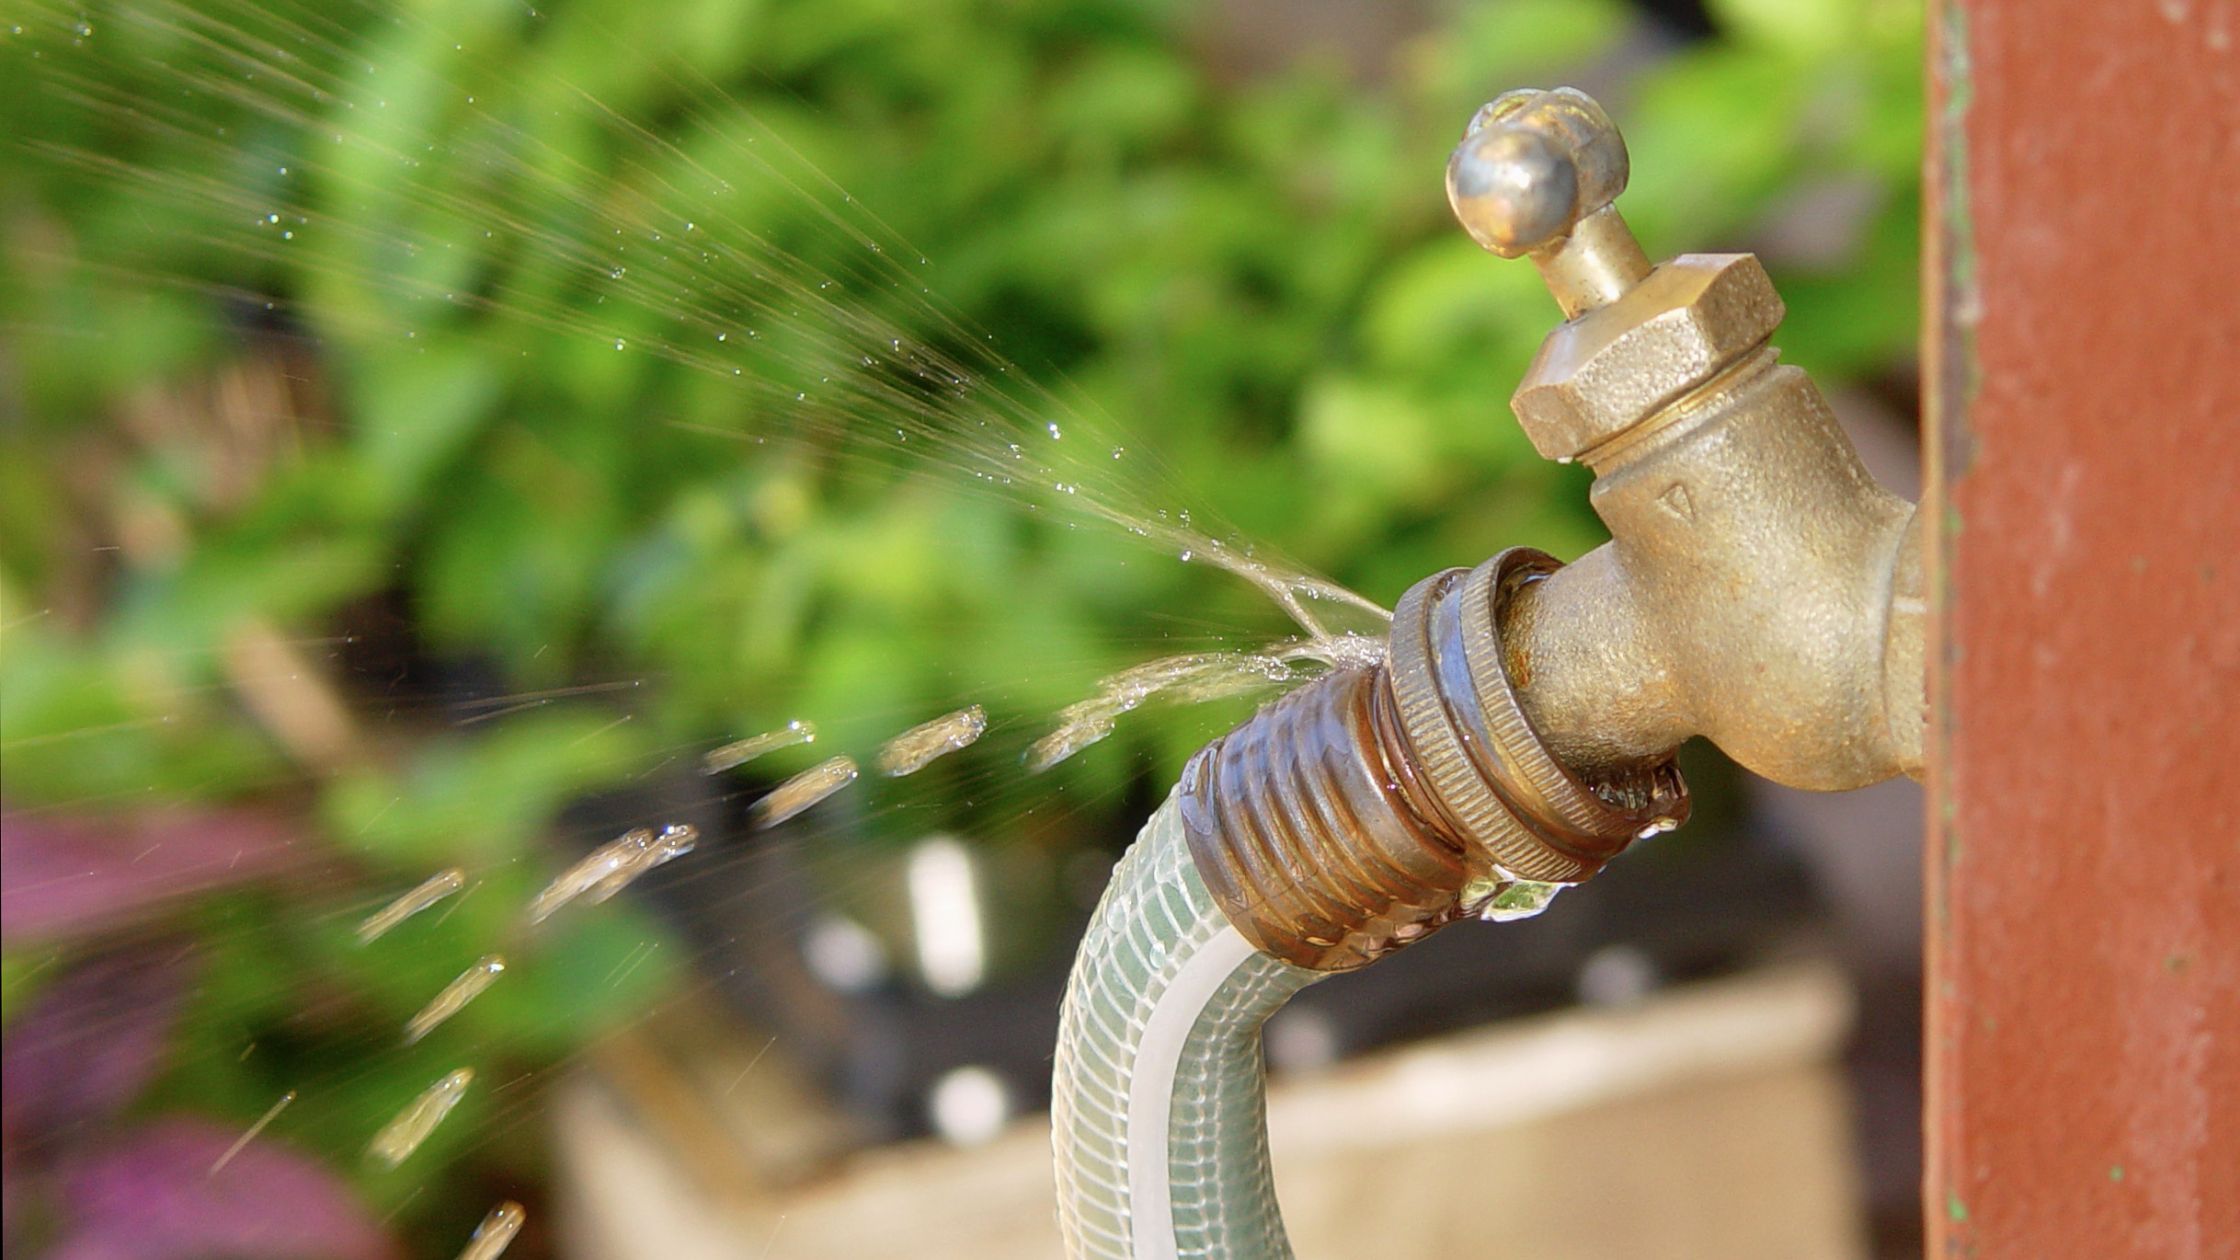
Leaking Faucet:
A dripping outdoor faucet signals potential internal wear, typically seen in the washer or O-ring. This visible leak may seem minor, but addressing it promptly can prevent further damage and water wastage.
No Water Flow:
When water stubbornly refuses to flow from the faucet, consider the possibility of a frozen pipe or an obstruction within the plumbing. Identifying the cause of this issue requires a methodical approach to ensure an accurate diagnosis.
Difficulty Turning Handle:
If you find yourself grappling with a handle that resists your efforts, the culprit may lie in accumulated mineral deposits or damage to the handle mechanism. Pinpointing the exact cause will pave the way for a targeted and effective repair process.
In comprehensively examining these symptoms, you lay the foundation for a successful outdoor faucet repair. The insights gained from this step will inform subsequent actions, bringing you closer to a fully functional outdoor faucet. Remember, addressing the problem at its root is key, and should you encounter challenges, consider seeking the expertise of professionals like JMK Plumbing Services for tailored guidance.
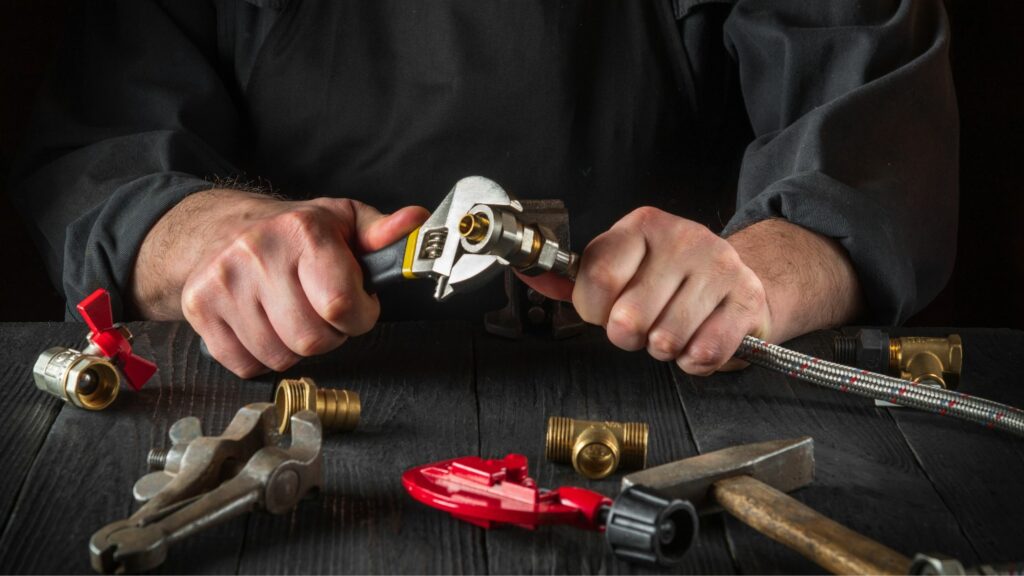
Step 2: Disassemble the Faucet
Now that you’ve identified the nuances of your outdoor faucet’s issue, it’s time to disassemble the faucet. Knowing how to repair an outdoor faucet begins with understanding its internal components and pinpointing the exact source of the problem.
Remove the Handle:
Start by employing an adjustable wrench to gently loosen and extract the screw securing the handle. This initial action opens the gateway to the faucet’s internal mechanism. Be deliberate in your movements, ensuring not to force or damage any components.
Dissecting the Faucet:
Proceed to the heart of the faucet by using a wrench to skillfully unscrew the packing nut. This crucial step unveils the stem assembly, laying bare the elements that contribute to the faucet’s overall function. Patience is key as you carefully navigate this phase of disassembly.
Critical Examination of Components:
With the stem assembly exposed, pay attention to each component. This is the opportune moment to identify the state of the washer, O-ring, bibb screw, and other vital parts. For a leaking outdoor faucet, closely inspect these elements for signs of wear or damage, as they often harbor the root cause of leaks.
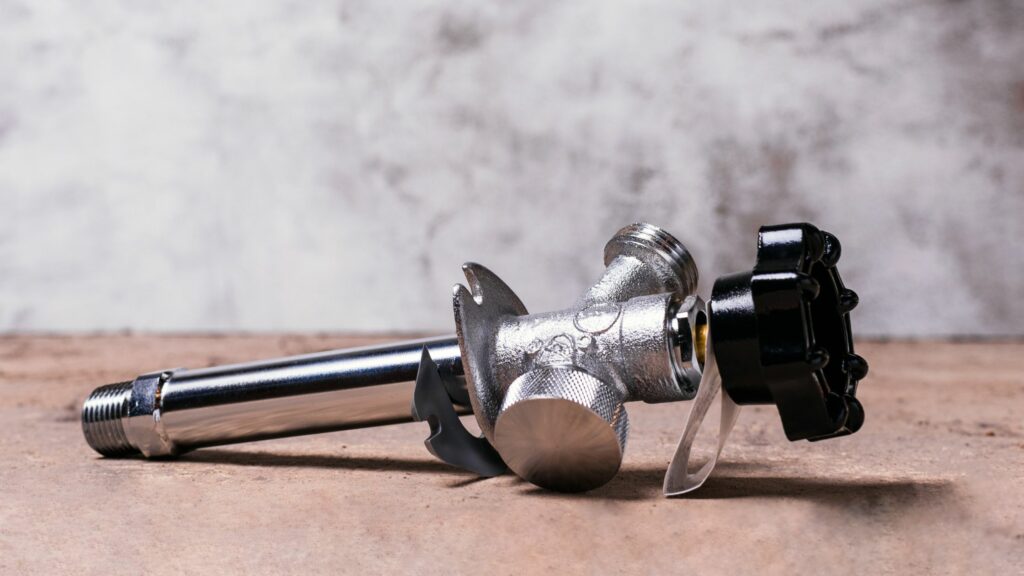
The Stem Assembly:
Gently remove the stem assembly, treating it with the precision it deserves. Lay out the components systematically, taking note of their arrangement for a seamless reassembly process later. Understanding how each piece fits together enhances your grasp of the faucet’s inner workings.
Mindful Handling of Components:
Exercise caution while handling each component. Check for any visible signs of wear, corrosion, or damage. For a comprehensive repair, consider replacing components showing signs of aging or deterioration. This approach ensures a thorough and effective resolution to the identified issues.
Step 3: Inspect and Replace Parts
After disassembling your outdoor faucet, focus on inspecting and replacing parts. This step in the “how to repair an outdoor faucet” journey requires a discerning eye and a proactive approach to see issues.
See the Washer and O-ring:
The washer and O-ring are often the culprits behind leaking outdoor faucets. They demand your attention, so look for subtle signs of wear, tear, or degradation. If you detect any compromise in their integrity, it’s time for a replacement.
Addressing the Bibb Screw:
A critical player in the faucet ensemble, the bibb screw, must undergo careful scrutiny. A leaking outdoor faucet may find its origin here. Check for any corrosion or damage, and if the visual inspection reveals issues, don’t hesitate to swap it out for a new, reliable counterpart.
Inspect the Stem Assembly:
Now examine the entire stem assembly. This collective inspection will require you to evaluate each component. For a methodical approach in dealing with how to repair an outside faucet leak, consider replacing worn or compromised elements within the stem assembly, ensuring a thorough restoration process.
Strategic Replacement Process:
Swap out damaged or aged components with their counterparts, ensuring compatibility and a snug fit. This strategic replacement not only addresses the existing issue but fortifies your faucet for continued optimal performance.
Guidance for Repairing Outside Faucet Leak:
Specifically for those grappling with a leaking outdoor faucet, this step is pivotal. Pay attention to the components contributing to the leak, implementing the necessary replacements. In doing so, you not only mend the current issue but proactively contribute to the longevity of your outdoor faucet.
Step 4: Lubricate Moving Parts: Nurturing the Heart of Your Faucet
This phase is not merely a routine maintenance task; it’s a strategic effort to ensure the smooth operation and longevity of your faucet.
Purposeful Application of Plumber’s Grease:
Apply the plumber’s grease and lubricate the moving parts thoroughly. Exercise precision as you apply the plumber’s grease to each moving part within the stem assembly. Pay particular attention to areas where friction may occur, ensuring a thorough and even coverage. This mindful approach guarantees that every crevice receives the lubricating embrace it deserves.
Step 5: Reassemble the Faucet: Putting It All Back Together
After carefully inspecting, replacing parts, and lubricating, it’s time for the penultimate step in your outdoor faucet repair journey-reassembly.
Gentle Stem Assembly Placement:
Begin by gently placing the stem assembly back into its spot in the faucet housing. Ensure each component finds its place.
Precise Packing Nut Tightening:
Use your wrench with precision to tighten the packing nut. Be careful not to over-tighten; a snug fit is what you’re aiming for.
Graceful Handle Reattachment:
Align the handle with the stem assembly and fasten it using the screw. This step complements the renewed interior with a refreshed exterior.
Turn on the Water Supply:
Turn on the water supply and check for any leaks. If you find leaks, ensure all connections are tight and consider using plumber’s tape on threaded connections. JMK Plumbing Services suggests a careful inspection.
Optional Winter Insulation:
If it’s winter, consider insulating your faucet to protect it from freezing temperatures. This extra step ensures your repaired faucet remains resilient.
Conclusion
So, this is how to repair an outdoor faucet. By following the guide above, you can successfully troubleshoot and repair common issues with outdoor faucets, ensuring their proper function and preventing water wastage. Remember, JMK Plumbing Services is here to assist if you need professional help.