How To Repair a Toilet Shut Off Valve
Feeling handy and want to save some cash? Fixing a leaky toilet shut-off valve is an achievable DIY project! This guide will walk you through the process step-by-step, helping you learn how to repair a toilet shut off valve yourself, avoiding the potential cost of a professional plumber (unless it’s not a very complex job).
In case, it’s a complex job that you think you can’t handle, it’s smart to turn to a professional plumbing company to do it for you. You can consider JMK plumbing to inspect and repair your toilet shut off valve.
Anyways, let’s get started with the DIY repair process of a toilet shut off valve:
Types of Toilet Shut Off Valves
The first rule of learning how to repair a toilet shut off valve is to know about the various types of toilet shut off valves. These valves might sound like complicated things, but don’t worry – they’re essential parts that help your toilet work properly. Let’s break down what they are and how they work in simple terms.
There are three main types: the ball valve, the compression valve, and the gate valve. Each type does the same job, but they look a bit different.
The Ball Valve: Known for its easy use, the ball valve has a simple quarter-turn handle. Inside, there’s a ball with holes. Turning the handle opens or closes the holes, controlling the flow efficiently. It’s easy to maintain and reliable, making it popular in many uses.
The Compression Valve: This valve uses a threaded stem with a seal around it. Turning the handle tightens the seal, controlling or stopping the flow. It’s great for precise adjustments, often found in places like medical settings or labs.
The Gate Valve: This valve moves a wedge-shaped gate up and down to control the flow. Fully open, it’s like an open pipe with little resistance. When closed, it seals the path completely, making it ideal for high-pressure situations in industries like power generation.
Components of a Toilet Shut Off Valve
The next step involving how to repair a toilet shut off valve is to get familiar with its parts.
Handle: You turn it to start or stop the flow of water.
Stem: Serves as the bridge between the handle and the inside of the valve. When you turn the handle, the stem makes things happen inside.
Packing Nut: It’s a protective cap. You can find it just below the handle, covering the important bits inside.
Compression Nut: This nut helps keep everything snug and in place. It’s like the belt holding your pants up – keeping things together.
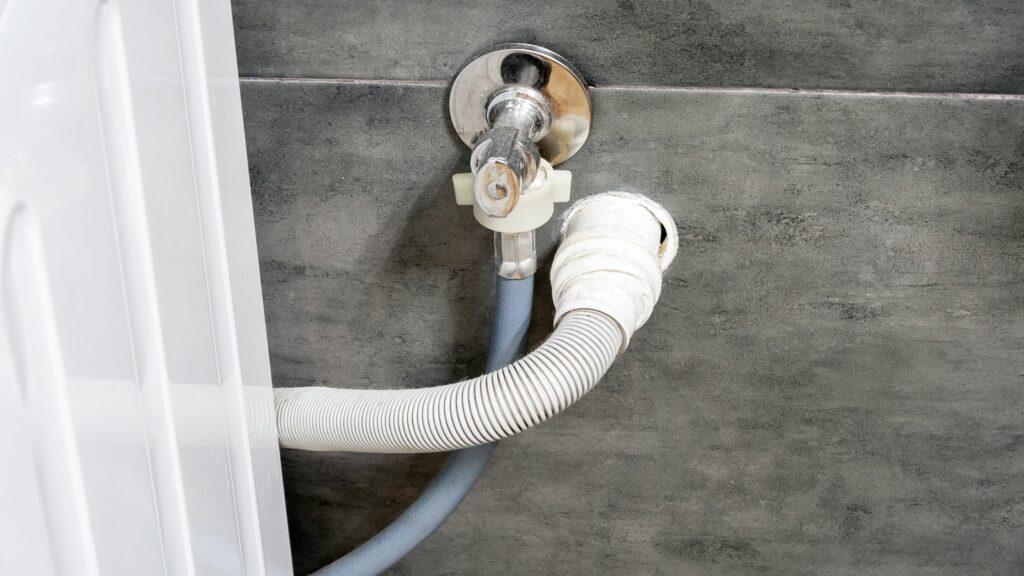
Water Supply Line: Picture this as the water highway. It’s the pipe that carries water from your home’s plumbing system to the shut off valve.
Now that we know the basic parts, fixing a shut off valve becomes a bit like solving a puzzle, figuring out which piece isn’t working correctly. But worry not, we’ll let you know how to figure out the faulty part. So, keep reading.
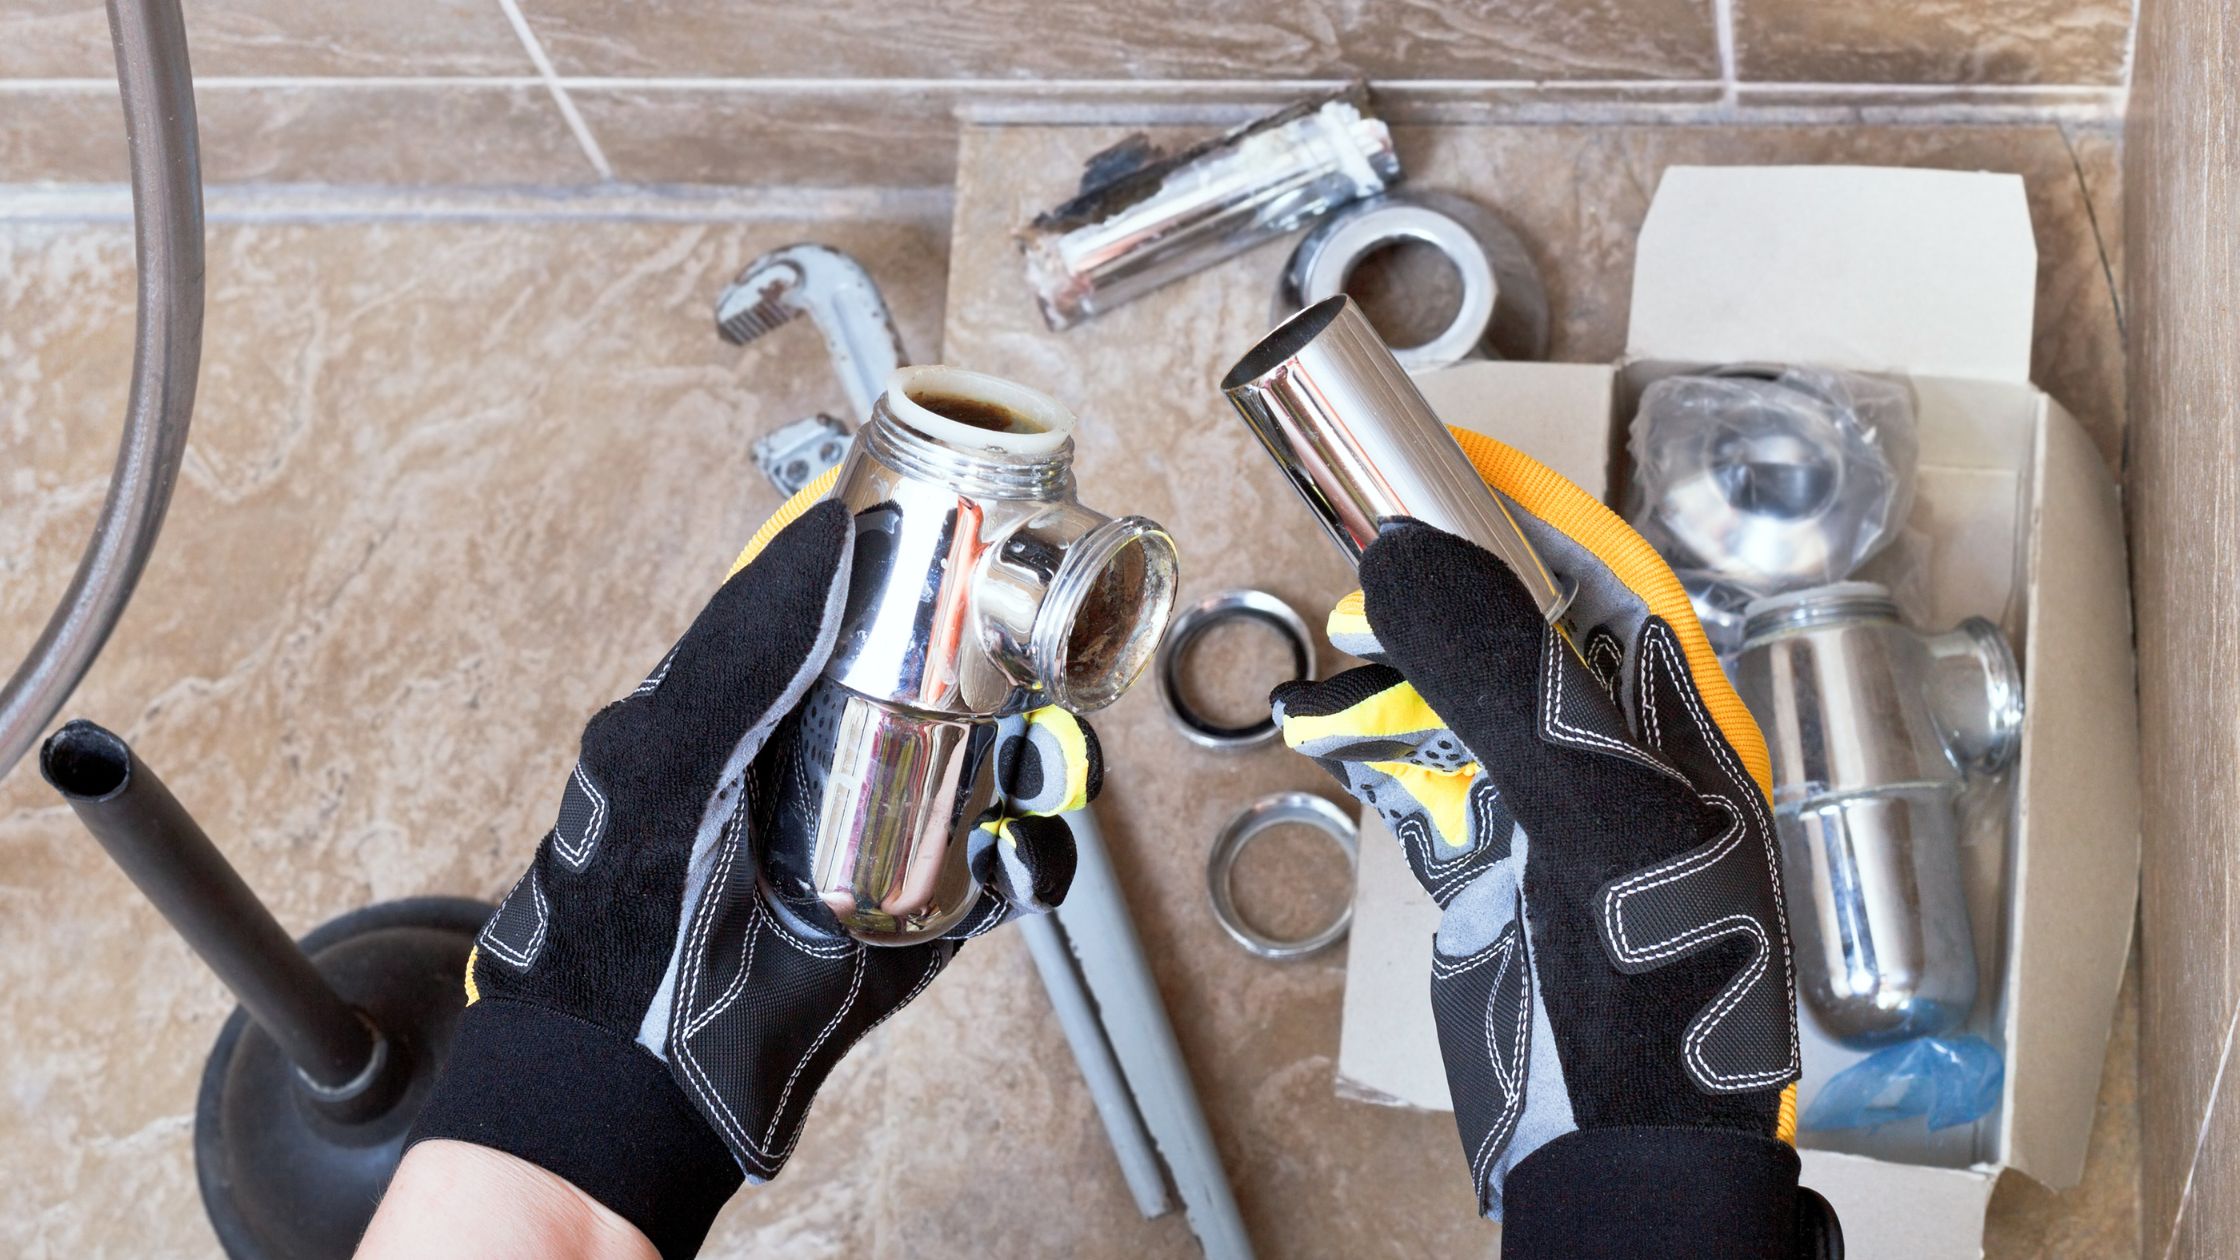
Tools and Materials You Need
Finally, you must have the below tools for replacing a shut off valve under sink:
- Adjustable Wrench: Like a magic tool that adjusts to fit different nuts and bolts.
- Pipe Cutter: Think of it as a small pizza cutter but for pipes.
- Teflon Tape: This is like tape for grown-ups. It helps seal up connections and prevent leaks.
- Plumber’s Tape: Similar to Teflon tape, this helps keep everything watertight.
- Bucket: Just a good old bucket to catch any water that might decide to escape during the repairs.
Now that we’ve got our tools, it’s time to grasp how to repair a toilet shut off valve. Remember, it’s not as tricky as it might seem, it’s more like putting together a puzzle with the help of some handy tools.
Preparing For The Repair
Turning off the water supply: Locate the water shut off valve, usually located on the wall behind the toilet. Turn the valve clockwise to shut off the water supply.
Emptying the toilet tank: Flush the toilet and hold down the handle until the tank is completely empty. This step prevents excess water spillage during the repair.
Placing a bucket to catch excess water: Position a bucket underneath the shut off valve to catch any residual water that may escape during the repair.
Identifying the type of shut off valve: Different types of shut off valves may require slightly varied repair techniques. Identify whether you have a ball valve, compression valve, or gate valve before proceeding.
How to Repair a Toilet Shut Off Valve: Step-by-Step Repair Process
Here are all the steps on how to repair a toilet shut off valve. Follow them carefully and you’ll be able to replace the valve with ease.
Repairing a Leaking or Dripping Shut Off Valve
Tightening loose packing nut: Using an adjustable wrench, tighten the packing nut located just below the valve handle. This often resolves minor leaks caused by a loose connection.
Replacing the packing washer: If tightening the nut doesn’t solve the issue, you may need to replace the packing washer. Turn off the water supply, remove the packing nut, and replace the old washer with a new one.
Repairing a Stuck or Hard-to-Turn Shut Off Valve
Lubricating the valve stem: Apply a small amount of plumber’s lubricant to the valve stem, located beneath the handle. This will ease the movement and make the shut off valve easier to turn.
Replacing the entire valve: If lubrication doesn’t improve the situation, you may need to replace the entire shut off valve. Use a pipe cutter to remove the old valve and install a new one in its place.
Repairing a Completely Non-Functional Shut Off Valve
Replacing the valve assembly: Turn off the water supply, disconnect the water supply line, and use a pipe cutter to remove the old valve assembly. Install a new assembly and reconnect the water supply line.
Installing a new water supply line: In some cases, a faulty shut off valve may damage the water supply line. If this is the case, replace the entire line with a new one to ensure a secure connection.
Advanced Repair Techniques
Before we get into some trickier ways regarding how to repair a toilet shut off valve, it’s important to note that these advanced repairs might be a bit much for a DIY adventure. When things get a bit more complicated, it’s perfectly okay to call in the professionals. JMK Plumbing in Miami, Florida, is an excellent choice for expert assistance with these kinds of repairs.
Now, let’s explore these more advanced techniques without the superhero flair:
1. Fixing Pipes Like a Pro
Sometimes, your pipes might need a bit more attention. Imagine your plumbing as a set of tubes. If one of those tubes is causing trouble, you might need to trim out the problematic part and swap it with a new piece. It’s a bit like fixing a straw with a hole – you snip off the damaged bit and pop in a fresh one.
2. Upgrading to a Quarter-Turn Ball Valve
Consider this an advanced version of your shut off valve. Ever heard of a quarter-turn ball valve? Unlike regular valves, you only need to turn it a quarter of the way to open or close it. It’s like upgrading your tool set for a more efficient experience. If you’re up for it, think about switching to this upgraded valve type for a smoother operation.
3. Battling Rust and Corrosion
Picture your shut off valve wearing a bit of armor, but over time, it might get a bit rusty. If you notice your valve looking a bit worn, use a tool called a pipe wrench to carefully remove the rusty parts. It’s like giving your valve a bit of maintenance. Replace those worn-out pieces with fresh ones, and your shut off valve will be back in action.
Remember, these advanced techniques might be a bit beyond the reach of your typical DIY project. When things get too complicated, it’s smart to seek professional help. JMK Plumbing in Miami, Florida, has the expertise to handle these advanced repairs with precision and care. They’re just a call away when your shut off valve needs a bit more attention.
Testing the Repaired Toilet Shut Off Valve
1. Turning On the Water Supply
With the repair completed, it’s time to turn the water supply back on. Rotate the shut off valve counterclockwise to restore the water flow to the toilet.
2. Checking for Leaks
Carefully inspect the repaired shut off valve and its surroundings for any signs of leaks. If you notice any, use your wrench to tighten connections or replace faulty components as needed.
3. Ensuring Smooth Operation
Test the shut off valve by turning the handle. Ensure it moves smoothly and without resistance. If any issues persist, revisit the repair steps to identify and address the problem. A well-functioning shut off valve should operate effortlessly.
Maintenance Tips
1. Regular Inspection of the Shut Off Valve
Make it a habit to inspect your shut off valve regularly. Look for signs of wear, leaks, or corrosion. Address any issues promptly to prevent further damage and ensure the long-term functionality of your shut off valve.
2. Lubricating Moving Parts
To maintain smooth operation, apply plumber’s lubricant to moving parts, such as the valve stem. This prevents stiffness and ensures the valve operates effortlessly.
3. Addressing Issues Promptly to Prevent Further Damage
Don’t ignore even minor issues with the shut off valve. Address them promptly to prevent more significant problems and extend the lifespan of your plumbing system. Timely repairs save you money and effort in the long run.
Final Words
All in all, learning how to repair a toilet shut off valve is something that every homeowner should know which is why we created this guide. By following this step-by-step guide and using simple tools, you can tackle common issues with great ease.
But again, if you believe that replacing your shut off valve under the sink requires professional expertise, don’t hesitate to call us. We, at JMK Plumbing will be happy to serve you.