How to Repair a Toilet Flapper: Ensuring Optimal Toilet Functionality
The toilet flapper, a vital component of the flushing system, plays a pivotal role in regulating water flow from the tank to the bowl. Over time, flappers may develop issues such as leaks, insufficient flushing, or continuous running, leading to water wastage. This article provides an in-depth, step-by-step approach on how to repair a toilet flapper, so keep reading.
Figuring Out the Problem First!
It’s super important that you accurately identify the issue before fixing the toilet flapper. Common problems include leaks, insufficient flushing, or a constantly running toilet. Identifying the problem allows for targeted and effective repairs.
Gathering the Tools and Materials
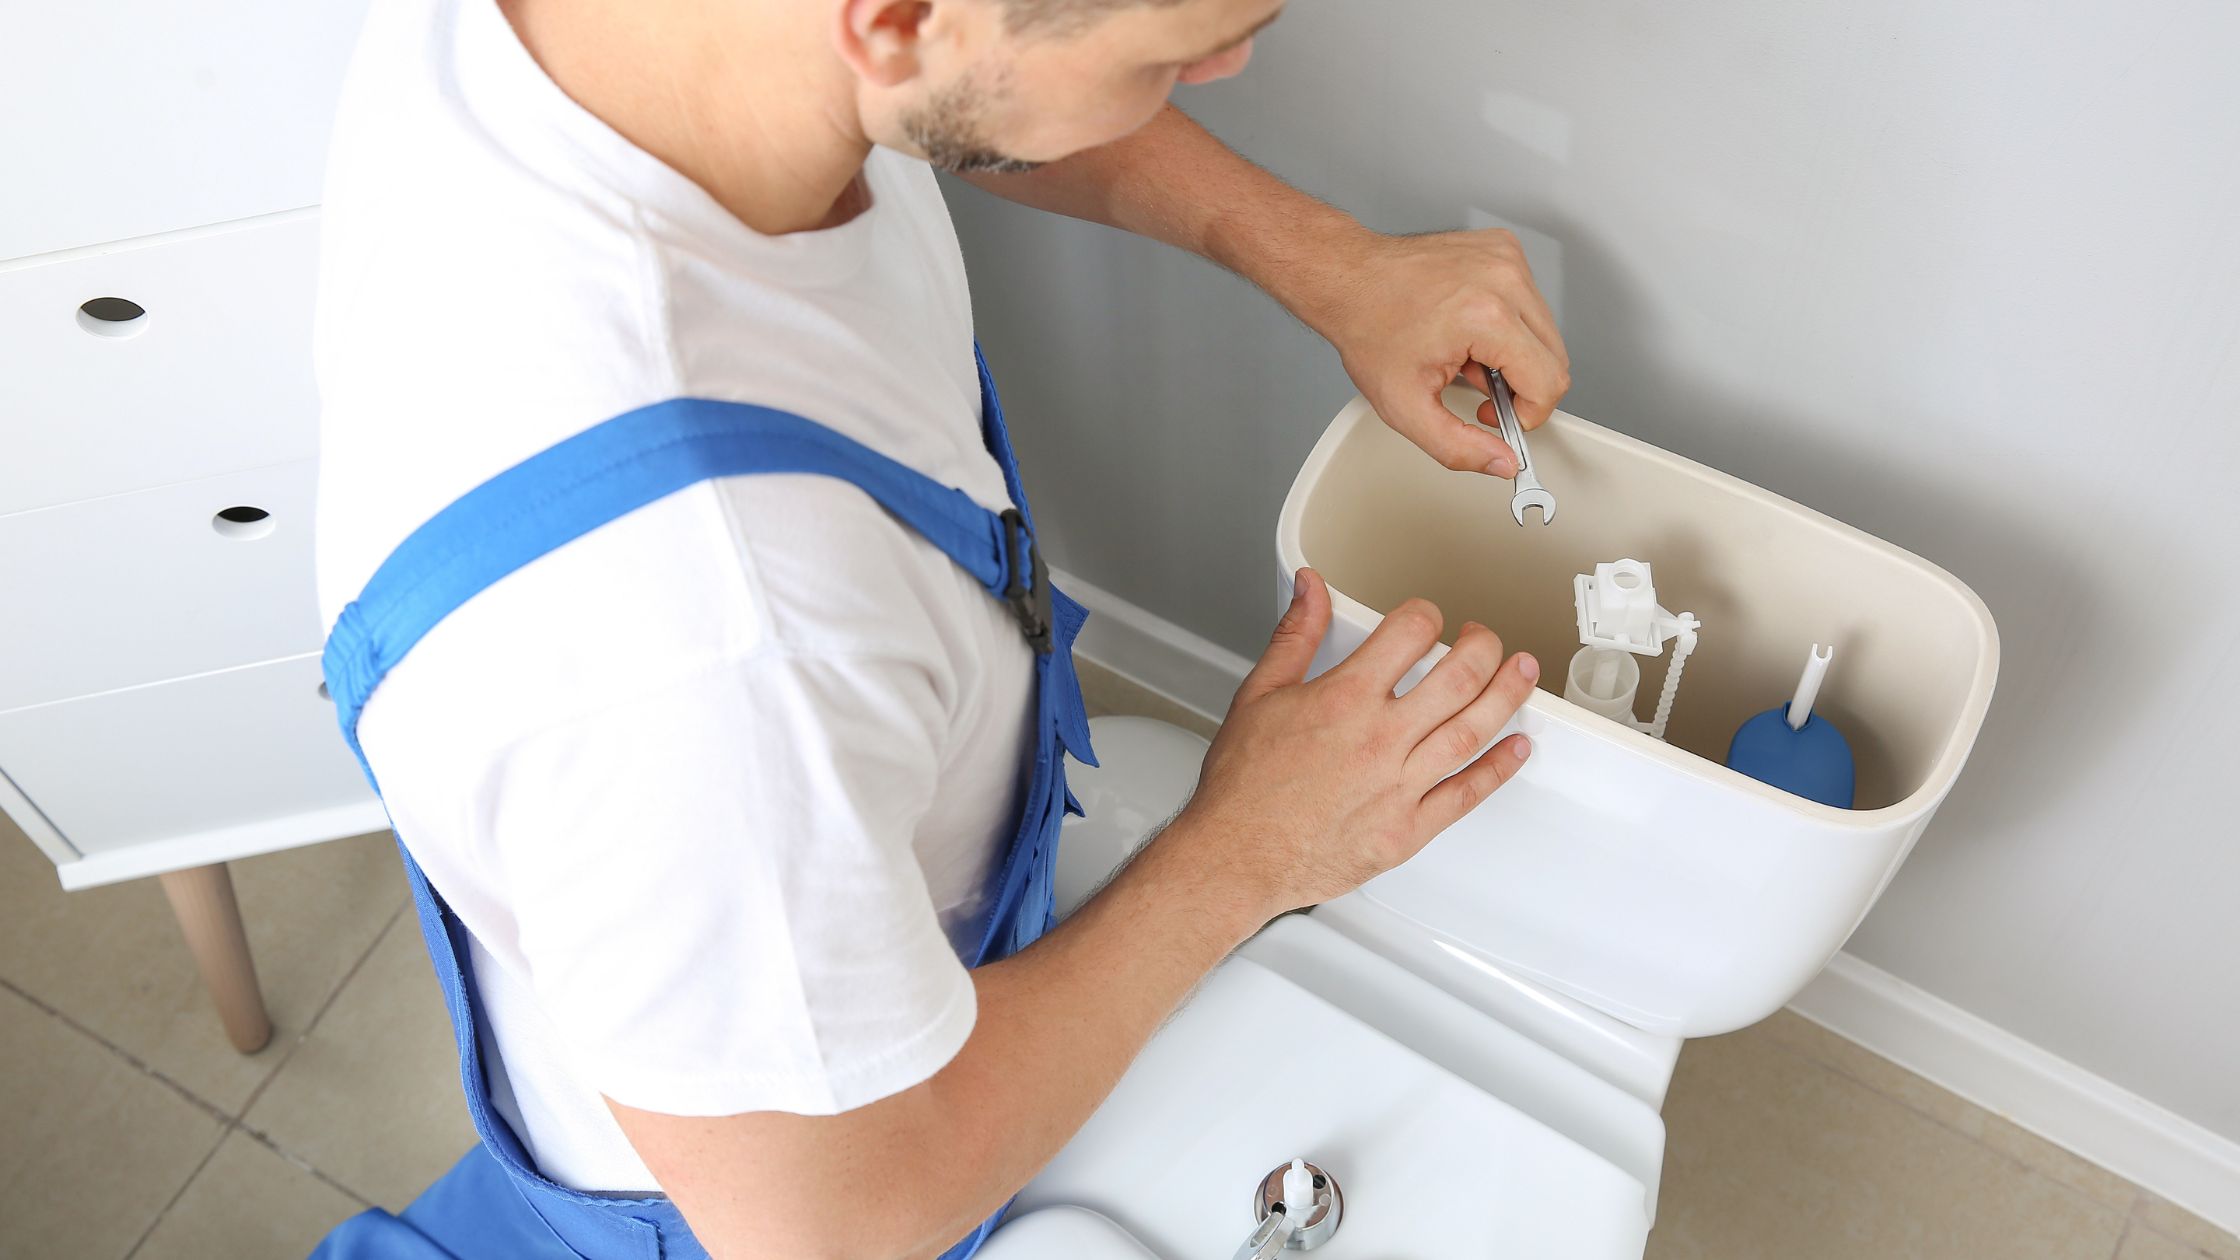
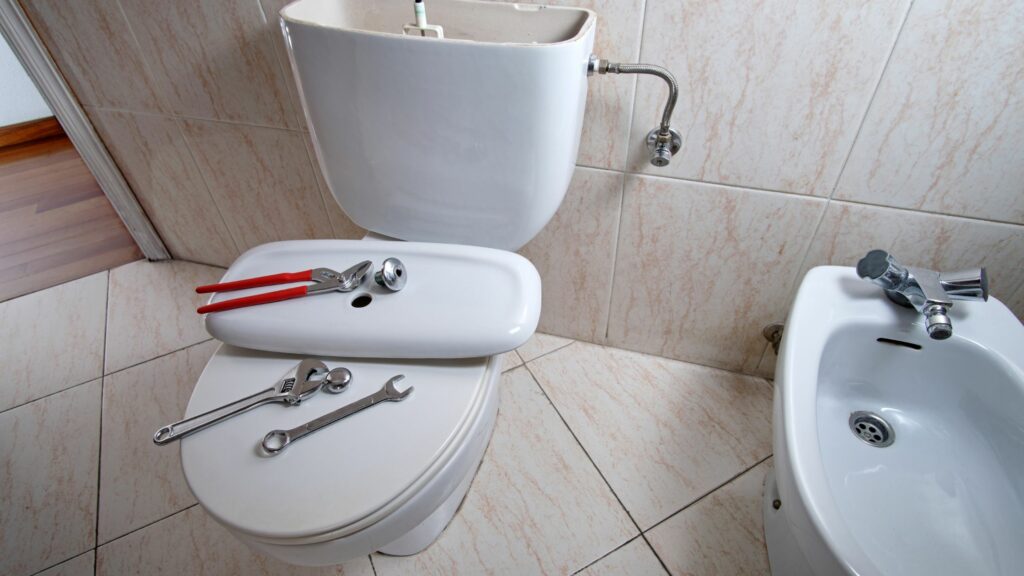
To commence the repair process, gather the necessary tools and materials. An adjustable wrench, a pair of pliers, a sponge, and a replacement flapper are essential. Ensure the replacement flapper is compatible with your toilet model by consulting the manual or measuring the existing flapper for accurate sizing.
Shutting Off the Water Supply
Prior to working on the toilet flapper, turn off the water supply by locating the shut-off valve behind the toilet and turning it clockwise until fully closed. This prevents water from flowing into the tank, creating an optimal working environment for the repair.
Emptying the Tank
Flush the toilet to completely empty the tank. This step ensures minimal water remains in the tank, making the repair process more manageable and reducing the risk of splashing water during repairs.
Removing the Tank Lid
Carefully remove the tank lid and set it aside in a safe location. The lid, often made of porcelain, can be heavy, so handle it with caution. Place it on a soft surface to avoid accidental damage.
Inspecting the Flapper
Examine the existing flapper for visible signs of wear, damage, or misalignment. If issues are apparent, proceed with the replacement. If there are no visible problems, check for mineral deposits or debris that may affect proper flapper functioning.
Detaching the Old Flapper
Using pliers or hands, detach the chain connecting the flapper to the flush handle. Release the tabs or latches securing the flapper to the overflow tube. Carefully remove the old flapper and set it aside.
Cleaning the Flapper Seat
With the old flapper removed, thoroughly clean the flapper seat using a sponge or a soft cloth. Remove any debris, mineral deposits, or residue that may have accumulated over time. A clean flapper seat ensures a proper seal when installing the new flapper.
Installing the Replacement Flapper
With the old flapper removed and the flapper seat meticulously cleaned, it’s time to usher in the new component that will rejuvenate your toilet’s flushing efficiency. The installation of the replacement flapper is a critical step that demands attention to detail for optimal functionality.
Choosing the Right Replacement Flapper:
Before delving into the installation process, it’s imperative to reiterate the importance of selecting the correct replacement flapper. Ensure that the replacement is not only compatible with your toilet model but also meets any specific requirements outlined in your toilet’s manual. Consider the dimensions, materials, and design to guarantee a seamless fit and proper functioning.
Positioning the New Flapper:
Begin the installation process by carefully placing the new flapper onto the overflow tube. Pay close attention to aligning the ears of the flapper with the corresponding latches on the overflow tube. This alignment is crucial for the proper seating and functioning of the flapper during the flushing process.
Securing the Flapper:
Once the new flapper is in position, it’s time to secure it to the overflow tube. Many modern flappers have user-friendly mechanisms such as tabs or latches that simplify the securing process. Ensure that these mechanisms are engaged correctly, providing a stable and reliable connection. Double-check the alignment to avoid any potential issues with the flapper’s movement.
Attaching the Chain to the Flush Handle:
With the flapper securely in place, turn your attention to connecting the chain to the flush handle. This linkage is pivotal in ensuring that the flapper lifts and drops smoothly during each flush. While attaching the chain, leave a small amount of slack to allow for proper movement. It’s crucial to strike the right balance – a chain that is too tight may hinder the flapper’s ability to close tightly, leading to leaks.
Ensuring Proper Chain Length:
The length of the chain is a critical factor in the flapper’s effective operation. Take the time to adjust the chain length as needed, ensuring there is enough slack to permit the flapper to close completely when the toilet is flushed. Testing the flush mechanism during this stage can help identify any issues with the chain length before proceeding.
Double-Checking Alignment and Adjustment:
Before turning on the water supply, perform a final check on the alignment of the flapper and the adjustment of the chain. Ensure that all components are properly positioned and that there are no obstructions that might impede the flapper’s movement. This meticulous attention to detail at the installation stage can prevent potential problems down the line.
Testing the Toilet
With the tank filled, conduct a series of flush tests to ensure the repaired toilet flapper is functioning correctly. Listen for any unusual sounds, such as running water or hissing, which could indicate a problem with the flapper seal or chain adjustment. Make further adjustments if necessary.
Additional Tips for Fixing Toilet Flapper
To enhance the longevity and efficiency of your toilet flapper, consider the following tips:
Regular Inspection: Periodically inspect the flapper for signs of wear, damage, or misalignment, even if no issues are apparent.
- Cleaning Schedule: Implement a regular cleaning schedule for the flapper seat to prevent the accumulation of debris and mineral deposits.
- Water-Saving Flappers: Consider replacing your existing flapper with a water-saving model to reduce water consumption and lower utility bills.
- Professional Assessment: If persistent issues arise or if you are unsure about the repair process, consider seeking professional assistance to ensure a thorough assessment.
Final Words
Having the knowledge of how to repair a toilet flapper can save you a lot of bucks. When you have a working toilet flapper, you’ll prevent water wastage, reduce utility bills, and prolong the lifespan of your toilet. By following this comprehensive guide and incorporating routine checks, you can ensure your toilet flapper operates efficiently, maintaining your bathroom in top-notch condition.
Note: If you believe that the problem is more complex and goes beyond just a damaged flapper then it’s best to hire professional plumbing services. If you’re based in Miami, Florida, give JMK plumbing a call. With years of experience and expertise, they’ll solve your plumbing issues in no time.