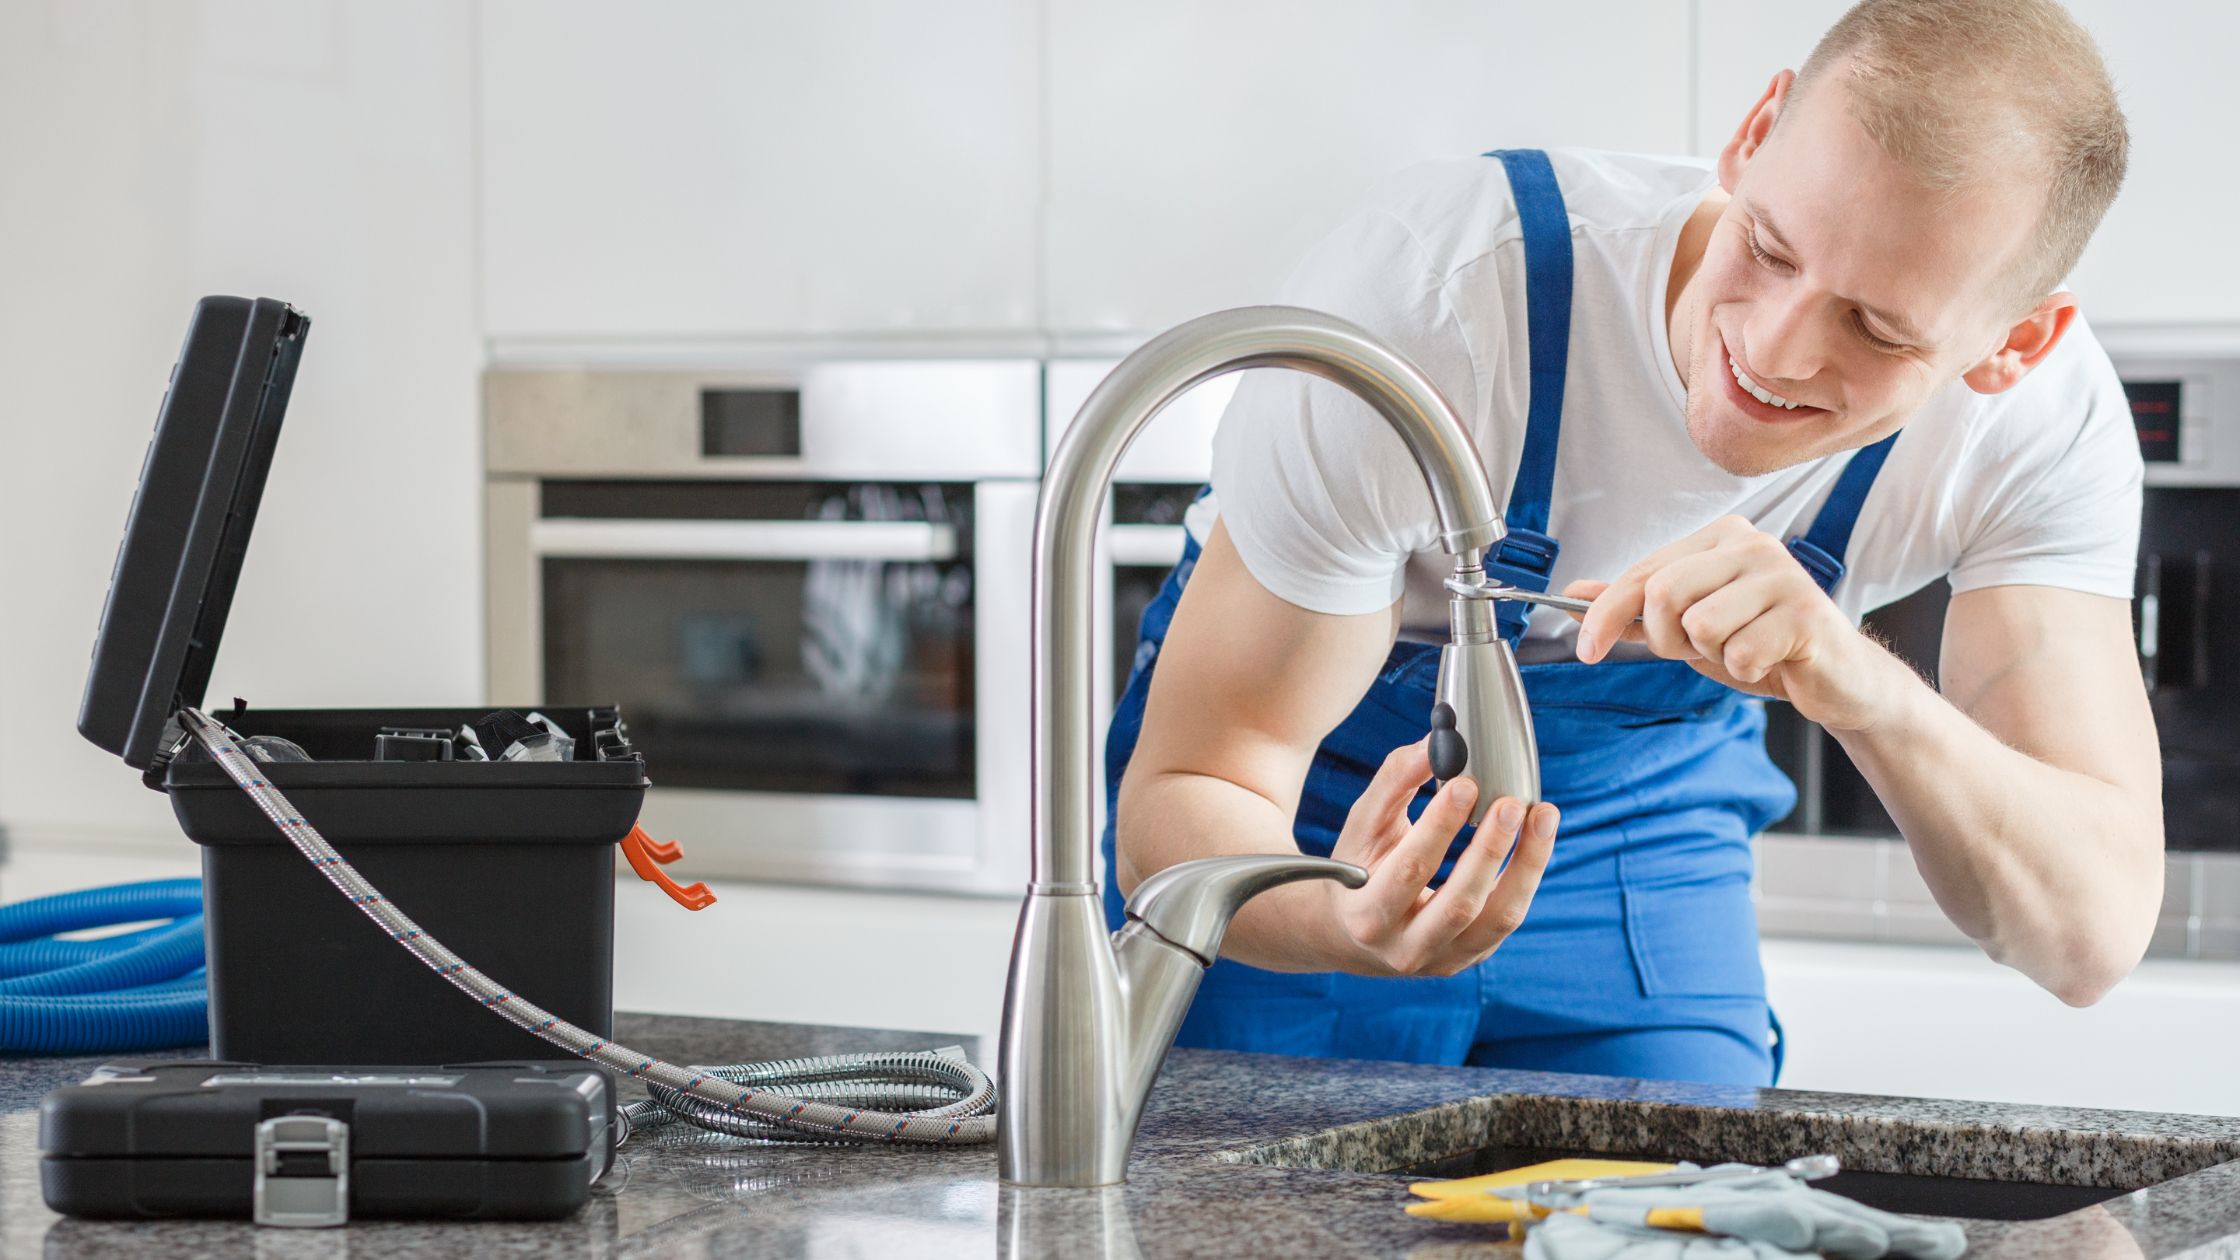
How To Repair A Single-Handle Kitchen Faucet With a Spray Hose
Is your kitchen faucet giving you trouble?
A leaky or malfunctioning faucet can be a real nuisance. Not only is it annoying to hear the constant dripping, but it can also waste a lot of water. If your faucet is acting up, don’t despair! We’ll show you how to repair a single-handle kitchen faucet with a spray hose, even if you’re not a plumbing pro.
However, if you want actual pros to repair it for you, you can turn to JMK plumbing services. We have been providing plumbing services in Miami Florida for over many years and are one of the best in this business. You can call us at 786-751-2271.
How Does a Single-Handle Kitchen Faucet with Spray Hose Work?
Let’s take a closer look at the mechanics behind a single-handle kitchen faucet with a spray hose to appreciate how it delivers the convenience of water flow and versatile spray options.
Basic Components:
Handle Mechanism:
The single handle is the control center of the faucet. It’s connected to a cartridge or ball valve inside the faucet body. Moving the handle controls both the temperature and flow of water.
Cartridge or Ball Valve:
In a single-handle faucet, the cartridge or ball valve regulates the mixing of hot and cold water. When you turn the handle, it adjusts the position of the cartridge or ball valve, allowing for precise control over water temperature.
Spray Hose:
The spray hose is a flexible tube connected to the faucet’s spout. It allows for a versatile water flow, transforming a steady stream into a powerful spray. The hose is often retractable, enabling easy maneuverability around the sink.
Aerator:
The aerator is a small device attached to the end of the faucet spout. It adds air to the water flow, reducing splashing and helping conserve water. Some aerators can be removed for cleaning or replacement.
Water Flow Modes:
Regular Flow:
When the handle is moved to its default position, water flows out in a regular stream. The cartridge or ball valve inside the faucet is in a neutral position, allowing both hot and cold water to mix and flow through the spout.
Spray Mode:
Activating the spray mode is like unlocking an additional feature. It involves diverting water from the main spout to the spray hose. The hose, with its nozzle, then releases a concentrated and powerful spray of water. This mode is handy for tasks like rinsing dishes or cleaning the sink.
How It Works:
Handle Adjustment:
Turning the handle left or right adjusts the position of the cartridge or ball valve. This controls the amount of hot and cold water mixing and determines the water temperature.
Spray Activation:
Many single-handle faucets with a spray hose have a button or lever on the faucet head. Pressing or toggling this control diverts water from the spout to the spray hose, activating the spray mode. Some faucets may have a separate spray head that you pull out to activate the spray.
Retractable Hose:
The retractable feature of the spray hose is made possible by a counterweight attached to the hose under the sink. When not in use, the hose retracts back into the faucet body, maintaining a tidy appearance.
Learning about these fundamental components and operations helps comprehend the functionality of your kitchen faucet. It also provides valuable insights when troubleshooting issues or undertaking repairs. The combination of a well-designed single-handle control, a versatile spray hose, and thoughtful engineering results in a kitchen faucet that efficiently meets your daily water needs.
Now let’s move on with a step by step guide on how to repair a single-handle kitchen faucet with a spray hose.
Step#1 – Identify the Problem
Symptoms:
When grappling with a malfunctioning single-handle kitchen faucet equipped with a spray hose, the initial step is crucial – identifying the specific issues at play. Common symptoms manifest as leaks, persistent drips, erratic spraying patterns, compromised water pressure, or challenges associated with the hose’s retraction mechanism.
These symptoms, though seemingly minor, can significantly disrupt the faucet’s optimal functionality, warranting a closer inspection.
Possible Causes:
Diving into the root causes is imperative for effective problem resolution. A comprehensive examination is necessary to pinpoint potential culprits behind the faucet’s malfunction. Among the factors to consider are worn-out gaskets, loosely fitted connections, an obstructed aerator, a malfunctioning cartridge, or a damaged hose. Each of these elements plays a role in the overall performance of the faucet, and understanding their potential malfunctioning states is essential for informed troubleshooting.
In the case of worn-out gaskets, a deterioration in the sealing components can lead to leaks and drips. Loose connections, on the other hand, may contribute to erratic water flow and pressure issues. A clogged aerator, often accumulating mineral deposits over time, can hamper the smooth flow of water. A faulty cartridge, responsible for controlling water flow and temperature, might lead to irregularities in both. Lastly, a damaged hose can compromise the retractability feature, causing inconvenience during everyday use.
Now, since you’re aware of the potential causes, let’s learn how to repair a single-handle kitchen faucet with a spray hose.
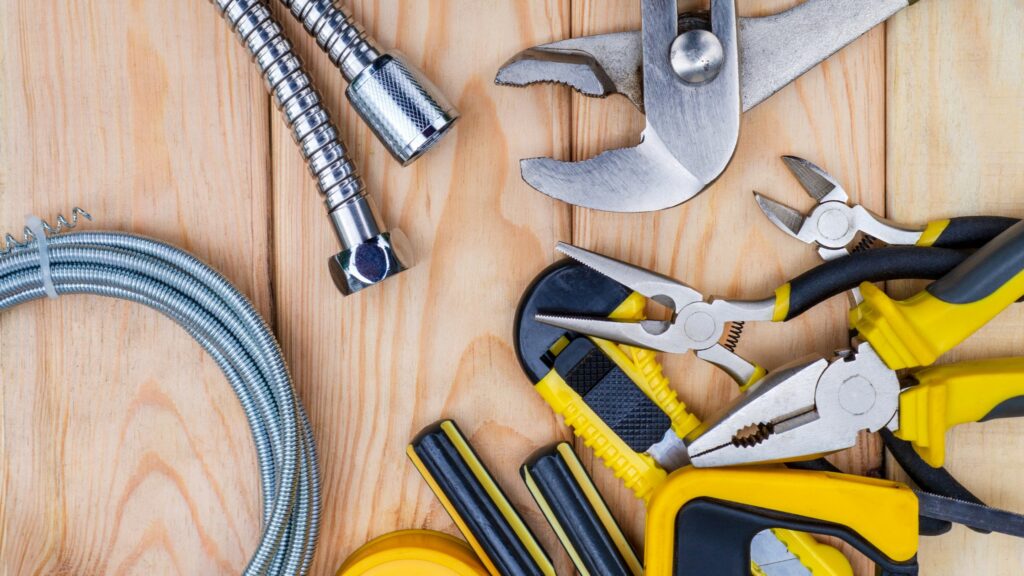
Step#2 -Gather Tools and Materials
Basic Tools: Getting Your Tools Ready
To fix your faucet, grab some simple tools like an adjustable wrench, pliers, a basin wrench, a screwdriver, a bucket, and some rags. These tools will help you open up the faucet and make the necessary fixes.
Replacement Parts: Getting What You Need
If something needs replacing, make sure you have the right parts. This might include gaskets, a filter, a cartridge, a new spray head, or a hose. Check your faucet’s manual or the maker’s website to find out what you need.
Step#3 -Get Ready For Repair
Turn off the Water Supply:
Locate the shutoff valves situated under the sink and turn off both the hot and cold water supply lines leading to the faucet. Additionally, open the faucet to release any residual pressure within the system.
Clear Work Area:
Ensure a clutter-free work area under the sink, providing better accessibility and visibility for the repair process.
Step#4 -Access the Faucet Cartridge
Remove Handle and Escutcheon:
Begin the disassembly by using a screwdriver or wrench to remove the faucet handle and the decorative cover, known as the escutcheon, around the faucet base.
Unscrew Cartridge Retaining Nut:
Identify the nut securing the cartridge in place and loosen it using either an adjustable wrench or a basin wrench. Some faucets may have a screw cap that needs removal before accessing the nut.
Step#5 -Diagnose and Repair the Issue
The next crucial step involves diagnosing the issues and implementing the necessary repairs.
Inspect Cartridge and Internal Components
The first order of business is to closely examine the cartridge. Check for any visible signs of wear, corrosion, or mineral buildup. A damaged cartridge could be the root cause of leaks, drips, or erratic water flow. Don’t stop there – cast your gaze on the surrounding components as well. Look for any irregularities that might contribute to the faucet’s malfunction.
Replace/Clean Cartridge or Faulty Parts
Based on your inspection, you now have options tailored to the specific issues at hand. If the cartridge is damaged, replace it with a compatible model, following the manufacturer’s instructions diligently. On the other hand, if it’s just a little dirty, a soak in vinegar or a cleaning solution can work wonders. Additionally, inspect and clean the aerator – the small device at the end of the faucet that controls the water flow. If it’s damaged, a replacement might be in order.
Hose Repair/Replacement
Turn your attention to the spray hose, another potential troublemaker. Check for leaks or kinks in the hose that could be disrupting the water flow. For minor leaks, a quick fix with plumber’s tape might do the trick. However, if the hose is beyond repair, it’s time to bring in a replacement to ensure smooth water delivery.
Reassemble and Test
Now that you’ve addressed the issues, it’s time to reassemble the faucet. Follow the reverse of the disassembly steps, ensuring that each component snugly finds its place. Take it step by step, tightening the cartridge retaining nut, reattaching the escutcheon and handle – like piecing together a puzzle.
Turn Water Supply Back On
With everything back in place, slowly turn on the water supply by opening the shutoff valves under the sink. Keep a close eye on the connections and listen for any unusual sounds. Test the spray hose functionality and the overall water pressure.
Step#6 -Final Checks and Cleanup
Monitor for Leaks:
Keep a vigilant eye on the repaired faucet and the area under the sink for the next few hours. Any signs of leaks or irregularities should be promptly addressed to ensure a long-lasting fix.
Clean Up:
With the repair mission accomplished, take a moment to wipe down the faucet and sink. Organize your tools and materials – a tidy workspace is the perfect finishing touch to your successful faucet repair adventure.
Additional Tips:
Take Pictures Before Disassembly:
Snap a few pictures during disassembly for future reference. It’s like having a visual roadmap when putting everything back together.
Use Plumber’s Tape on Threaded Connections:
Apply plumber’s tape to threaded connections to prevent leaks and ensure a watertight seal.
Consult the Faucet’s Manual or a Professional Plumber:
If any step feels uncertain, refer to the faucet’s manual or seek advice from a professional plumber. It’s better to be safe than sorry when dealing with intricate plumbing matters.
Conclusion
So that’s it. This guide on how to repair a single-handle kitchen faucet with a spray hose equips you with the knowledge and step-by-step instructions to tackle common faucet issues.
If you’re seeking a plumber in Miami, Florida who is experienced, do check out JMK plumbing services. We will be happy to serve you!