How to Make Leak-Detection Soap: Creating a DIY Solution for Safety
Are you worried about undetected leaks causing damage or posing safety risks? You’re not alone. With readily available ingredients and a simple recipe, you can craft your very own effective leak-detection soap. We’ll introduce you to a DIY solution that lets you check for leaks in various household systems, bringing peace of mind and potentially saving you time and money down the line.
We’ll also walk you through the step-by-step process of creating your own leak-detection soap, including the key ingredients and their roles. With this leak detection soap, you can find leaks in plumbing, gas lines, air ducts and even swimming pools. So, let’s learn how to make leak-detection soap in a few easy steps.
Note: While leak-detection soap is a valuable tool, it’s crucial to prioritize professional assistance for significant leaks or concerns about potentially hazardous substances. You can contact JMK plumbing for all your leaks and other related problems.
Necessary Materials You’ll Need
- Base soap: Mild dish soap or liquid hand soap works well.
- Water: Distilled water is preferred to avoid impurities.
- Glycerin: Helps create a thicker consistency for better bubble formation.
- Food coloring or dye: Optional, but aids in visibility during testing.
Equipment Required to Make a Leak-Detection Soap at Home
- Mixing bowl
- Stirring utensil
- Measuring cups/spoons
- Mold (optional)
Preparation Steps on How to Make Leak-Detection Soap
Here’s a step by step process on how to make leak-detection soap at home:
1. Measure Out the Ingredients:
Begin by gathering the necessary materials and accurately measuring out the base soap, water, and glycerin. This step is crucial for ensuring the proper balance of ingredients in your leak-detection soap recipe. Precise measurements will help achieve the desired consistency and effectiveness.
2. Mix the Base Soap, Water, and Glycerin in the Mixing Bowl:
Once you have measured out the ingredients, it’s time to combine them in the mixing bowl. Start by adding the base soap, followed by the distilled water and glycerin. The glycerin serves a crucial role in thickening the soap mixture, enhancing its ability to create visible bubbles when applied to a surface. Stir the ingredients together thoroughly to ensure they are well incorporated.
3. Add Food Coloring or Dye to the Mixture:
While not essential, adding food coloring or dye to the soap mixture can enhance its visibility during leak detection tests. Choose a color that contrasts well with the surface you’ll be testing, making it easier to spot any bubbles that form. Add a few drops of food coloring or dye to the mixture and stir until the color is evenly distributed.
4. Stir the Mixture Thoroughly Until It’s Well Combined:
Take your time to stir the soap mixture thoroughly, making sure all the ingredients are well combined. Pay attention to any lumps or clumps and continue stirring until the mixture is smooth and uniform in texture. Proper mixing is essential for ensuring that the soap will perform effectively during leak detection tests.
With these steps, you can create your own leak-detection soap with ease. Keep in mind to measure accurately, mix thoroughly, and consider adding food coloring or dye for improved visibility. With your homemade soap ready, you’ll be equipped to conduct leak detection tests confidently and effectively.
How to Conduct a Soapy Water Test for Gas Leaks
One of the most effective methods for detecting gas leaks is the soapy water test. This method involves applying a solution of water and soap to the area suspected of a leak and observing for the formation of bubbles, indicating the presence of escaping gas.
Here’s a comprehensive guide on how to conduct a soapy water test for gas leaks:
1. Keep the Materials Ready:
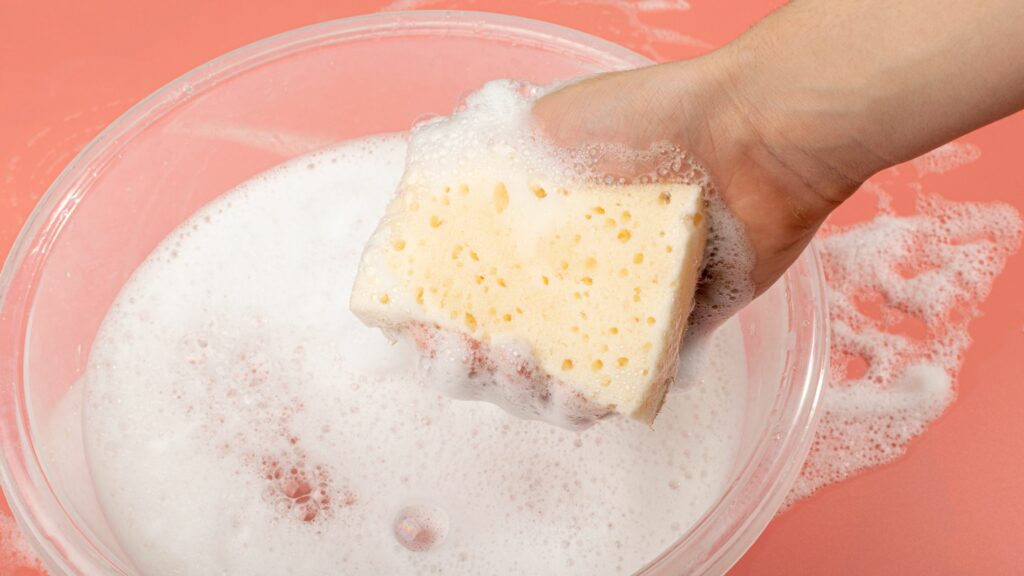
Before conducting the test, ensure that you have the necessary materials ready. You’ll need a spray bottle or a container with a sponge or cloth soaked in soapy water. The soap solution can be easily prepared by mixing water with a small amount of liquid dish soap or any other mild detergent.
2. Turn Off Ignition Sources:
Safety is paramount when dealing with potential gas leaks. Before beginning the test, turn off any ignition sources in the vicinity, including stoves, heaters, and electrical appliances. This precaution minimizes the risk of fire or explosion in case of a gas leak.
3. Locate the Suspected Area:
Identify the area where you suspect a gas leak may be occurring. This could be around gas pipes, valves, fittings, or appliances such as stoves, water heaters, or furnaces. Look for any signs of damage, corrosion, or hissing sounds, which may indicate a leak.
4. Apply the Soapy Water Solution:
Spray or apply the soapy water solution generously to the suspected area using a spray bottle, sponge, or cloth. Ensure thorough coverage, focusing on joints, connections, and any visible components where gas could potentially escape.
5. Observe for Bubbles:
Once the soapy water solution is applied, observe the area closely for the formation of bubbles. If there is a gas leak present, the escaping gas will create bubbles in the soapy water, making the leak visible. Pay attention to the size and frequency of bubbles, as this can indicate the severity of the leak.
6. Repeat as Necessary:
If no bubbles are initially observed, it’s essential to reapply the soapy water solution and inspect the area from different angles. Gas leaks may] be intermittent or occur only under certain conditions, so repeating the test ensures thorough detection.
7. Take Action:
If bubbles are detected during the soapy water test, it’s crucial to take immediate action to address the gas leak. Depending on the severity of the leak and the location, you may need to shut off the gas supply, evacuate the premises, and contact a qualified technician to repair the leak.
8. Follow-Up Inspection:
After addressing any identified gas leaks, conduct a follow-up inspection to ensure that the repairs have been effective. Reapply the soapy water test to the previously affected areas to verify that no further leaks are present.
Final Words
That’s all there is to know about how to make leak-detection soap. With this method, detecting leaks in your home has never been this easier.
Remember, early detection of leaks can save you significant time, money, and potential damage.
With that said, know that safety should be your top most priority. And, at any event, if you believe that the leak is massive and poses a safety threat, do not take matters into your own hands. Instead call a professional plumbing company like JMK Plumbing. They will find potent leaks and eliminate them as well. All you need to do is call them at 786-692-8404.